Easy Install & Configuration of Oracle Unified Directory (OUD)
Install and config Oracle Unified Directory
- Software used for this lab — fmw_12.2.1.4.0_oud.jar
Before installing download the right softwares. I used the following OUD 12.2.2.4 version. The link to download the software is https://oracle.com/security/identity-management/technologies/downloads/
Read more tutorials (Oracle Database,OpenAM, OpenDJ, Federation) : https://iamblockc.medium.com/
A few points- This is a single instance OUD install. The Virtual Machine, I installed is given the hostname deviam.com (Use the hostname which works for you). This value has to be set in the /etc/hosts file to against ip address.
The DC for this lab was set to dc=deviam,dc=com. Remember your password, you configure OUD with for connecting to it later.
In this lab, we will install and configure OUD (that will be the repository for identities for OAM).
Execute the following command - java -jar fmw_12.2.1.4.0_oud.jar
Starting install. Click Next on Welcome page, Skill the Auto updates and click Next
On Step 3, choose the path to install the binaries. Click Next.
On Step 4, choose Standalone OUD as shown. Click Next.
Step 5 show the prerequisites checks. If there are issue, don’t ignore, fix it before moving forward. Click Next.
On Step 6, you could save the response file (for future reference). Click Install.
Step 7 shows the progress bar. On 100% complete, click Finish.
Configure OUD
The binaries are installed, now we can configure OUD. Execute the config.sh command. Click Next.
Choose Stand Alone Server. Click Next.
In the Server Setting, Leave default User Root DN. For the hostname enter the hostname you have chosen and the password/confirm password. Click Next.
Leave it as default port 1389. Click on Enable StartTLS. Click Next.
Enter the base DN of your choice. Choose database empty. We can load users later. Click Next.
Chose “No Specific Integration”. Click Next.
Adjust the memory on your config as required. Click Next.
Review your OUD setting and click on the Finish button to start the configuration.
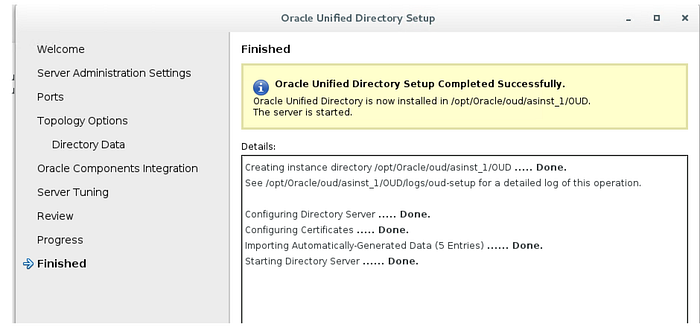
The final successful screen is shown below. Click on Finish. You are done with OUD configuration.
This concludes the OUD install and configuration lab.
